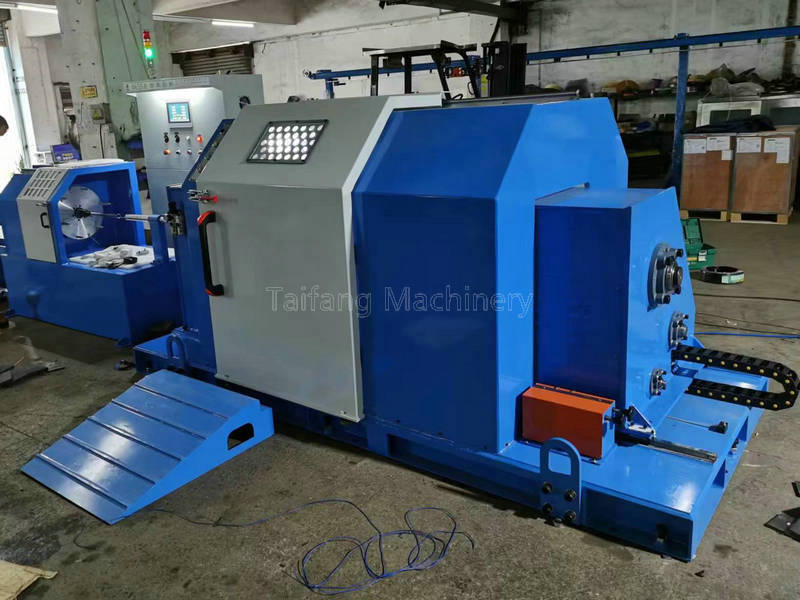
The Ultimate Guide to Twisted Pair Cable Installation: Simplified Steps in English In the world of networking, twisted pair cables are the unsung heroes that keep our digital lives running smoothly. Whether you’re setting up a home network or a large-scale corporate infrastructure, understanding the steps involved in twisted pair cable installation is crucial. This guide will walk you through the process in a simplified, easy-to-follow manner, ensuring that even beginners can master the art of twisted pair cable setup.
Understanding Twisted Pair Cables
Before diving into the installation steps, it’s essential to grasp what twisted pair cables are and why they are so widely used. Twisted pair cables consist of pairs of insulated copper wires twisted together to reduce electromagnetic interference (EMI) and crosstalk. They are commonly used in Ethernet networks and are categorized into different types, such as Cat5e, Cat6, and Cat7, each offering varying levels of performance and bandwidth.
Tools and Materials Needed
To get started, you’ll need the following tools and materials:
Twisted pair cables (appropriate category for your network needs)
RJ45 connectors
Crimping tool
Cable stripper
Cable tester
Scissors or wire cutters
Network switch or router

Step-by-Step Installation Guide
Step 1: Planning and Preparation
Before you start cutting and crimping, plan your network layout. Determine the length of the cables needed, the locations of your devices, and the path the cables will take. Ensure that you have enough slack to avoid tension on the cables, which can lead to signal degradation.
Step 2: Cutting and Stripping the Cable
Using scissors or wire cutters, cut the twisted pair cable to the desired length. Next, use a cable stripper to remove about 1.5 inches of the outer jacket, exposing the inner wires. Be careful not to cut into the inner insulation of the wires.
Step 3: Untwisting and Arranging the Wires
Untwist the pairs of wires and arrange them according to the T568A or T568B wiring standard. The T568B standard is more commonly used in the United States. The correct order for T568B is:
White/Orange
Orange
White/Green
Blue
White/Blue
Green
White/Brown
Brown
Step 4: Trimming and Inserting the Wires
Once the wires are arranged in the correct order, trim them to ensure they are even and can fit into the RJ45 connector. Carefully insert the wires into the connector, making sure each wire reaches the end of the connector. The outer jacket should also enter the connector to provide strain relief.
Step 5: Crimping the Connector
Using a crimping tool, firmly press the RJ45 connector onto the cable. Ensure that the pins make good contact with the wires and that the connector is securely attached to the cable. Repeat this process for the other end of the cable.
Step 6: Testing the Cable
After crimping both ends, it’s crucial to test the cable to ensure it’s functioning correctly. Use a cable tester to check for continuity and proper wiring. If the cable passes the test, it’s ready to be connected to your network devices.
Step 7: Connecting to Network Devices
Finally, connect one end of the twisted pair cable to your network switch or router and the other end to your device (e.g., computer, printer, or access point). Power on your devices and verify that they are communicating correctly.
Tips for Successful Twisted Pair Cable Installation
Avoid sharp bends: Sharp bends can damage the internal wires and affect signal quality.
Use cable ties: Secure the cables neatly with cable ties to prevent tangling and strain.
Label your cables: Labeling cables can save time and effort when troubleshooting or making changes to your network.
Follow safety precautions: Always follow safety guidelines when working with tools and electrical equipment.
Conclusion
Mastering the steps involved in twisted pair cable installation is a valuable skill for anyone involved in networking. By following this guide, you can ensure a smooth and efficient setup, whether you’re working on a small home network or a large enterprise infrastructure. Remember, attention to detail and proper planning are key to a successful installation.
Copyright ? 2009-2024 All Rights Reserved. 蘇ICP備12081599號(hào)
XML地圖


 在線Q Q
在線Q Q 